Understanding Ear Anatomy and Piercing Categories
Ear anatomy varies dramatically from person to person, which means that what looks balanced on one person might sit completely differently on someone else. Piercings on the ear generally fall into two broad physiological categories: vascular soft tissue and dense avascular cartilage. Soft tissue piercings, primarily located along the lower lobe, benefit from strong blood circulation, resulting in faster healing and minimal resistance during needle insertion. Cartilage piercings, which encompass the entire upper ridge and inner framework of the ear, lack direct blood flow and rely on surrounding tissue fluid for oxygen and nutrients.
Choosing between different ear piercings starts with a careful anatomical evaluation by an experienced professional. A reputable body piercer will inspect the curvature of your ridges, the depth of your ear bowl, and the thickness of your tissue before touching a needle. When you visit studios offering professional ear piercings, the piercer will often mark the skin with a sterile pen and have you review the placement in a mirror from multiple angles. Factors like your sleeping habits, whether you wear over-ear headphones, and your daily routine should directly shape which positions you choose.
Attempting to force an anatomy-dependent project onto an unsuitable ear shape usually leads to persistent migration, severe angle distortion, or painful pressure bumps. A well-placed piercing respects the natural folds of your ear rather than fighting them. Taking the time to understand your own structural landmarks ensures that every piece of jewelry sits flush, heals cleanly, and remains comfortable throughout years of everyday wear.
Lobe Piercings and Multi-Lobe Placement Options
The standard lower lobe remains the most accessible starting point for body modification because the tissue is pliable and forgiving. Traditional placements sit centered on the fleshiest part of the lower lobe, but contemporary styling often incorporates second and third stacked placements running upward toward the lower cartilage boundary. Stacked lobes place one hole directly above another in a vertical orientation, creating a clustered visual effect that works especially well for individuals who have broad or elongated earlobes.
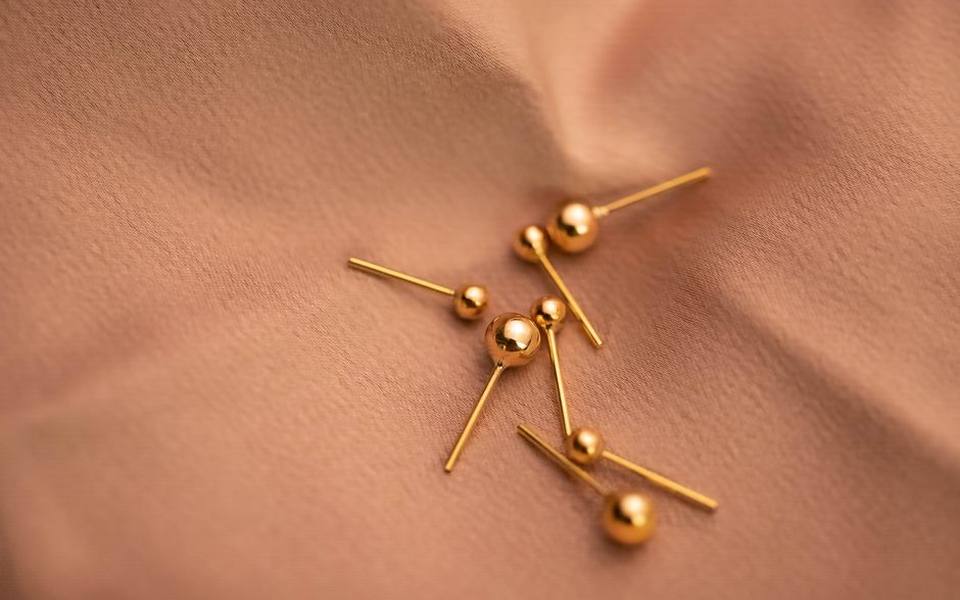
Healing a lobe typically requires between two and four months, depending on your overall immune health and how well you avoid snagging the post on clothing. Initial jewelry for lobe work should always be a straight stud with a flat back rather than a loose hoop. Rings rotate through the fresh channel, dragging dried discharge and airborne bacteria into the delicate wound channel. Flat-back studs keep the channel stationary and reduce mechanical irritation during routine movement.
When considering multiple lobe additions, pacing your appointments makes a substantial difference in everyday comfort. Piercing more than two or three spots on a single ear at once creates widespread local swelling that can complicate recovery. Allowing your first set to stabilize before adding secondary or tertiary holes gives you an easier healing path and ensures that spacing remains precise once initial fluid retention subsides.
The Outer Rim: Helix and Forward Helix Variations
Running along the curved upper perimeter of the ear, piercings for helix projects cover a wide stretch of real estate. A standard helix penetrates the curled rim along the outer edge, while a forward helix sits along the root of the ear where the upper cartilage joins the side of the face. Forward placements can be worn individually or arranged in graduated groupings of two or three studs, provided there is enough defined ridge depth to support the posts securely.
Cartilage along the outer rim is notably vulnerable to indirect impact, snagging on long hair, and friction from knit beanies or eyeglasses. Because the outer rim lacks the cushioning found in soft tissue, pressure from sleeping on an unhealed helix can shift the needle track permanently outward. This angle shift ruins the way decorative jewelry faces the viewer. Using a travel pillow with an open center helps side sleepers protect an active helix throughout the extended healing process.
Initial jewelry selection for any outer rim location should consist of an implant-grade titanium flat-back labret with sufficient extra length to accommodate swelling. While many clients envision wearing a snug ring immediately, inserting a curved hoop into a fresh cartilage wound encourages uneven pressure points and chronic bump formation. Hoops should typically be reserved until the tissue has matured for at least six to nine months.
Inner Framework: Tragus and Anti-Tragus Considerations
The tragus is the thick, triangular flap of cartilage that projects over the entrance of the ear canal. Placing jewelry here creates a subtle accent that frames the inner face, but the procedure demands pinpoint precision to avoid angling the post toward the canal. The anti-tragus sits directly opposite, on the small cartilage crest located immediately above the fleshy lobe. Both spots involve dense, fibrous tissue that requires firm, controlled needle pressure during the procedure.
Living with an unhealed tragus requires temporary adjustments to your audio habits. In-ear monitors and standard earbuds will press directly against the flat disc of the jewelry, driving the post sideways and introducing bacteria from pocket-stored electronics. During the initial six to nine months of recovery, switching to loose over-ear headphones that clear the ear structure entirely is practically mandatory for preventing irritation bumps and delayed healing.
An anti-tragus is widely considered one of the more challenging inner ear projects due to localized swelling patterns. Swelling in this zone can be surprisingly pronounced, often requiring an initial post that appears awkwardly long for the first several weeks. Once the acute inflammation subsides, having a piercer downsize the bar prevents the extra post length from catching on collars, hair strands, and telephone receivers.
Deep Bowls and Ridges: Conch, Daith, and Snug
The conch occupies the wide, cup-shaped center of the ear cartilage and offers exceptional versatility for statement jewelry. It can be pierced through the inner bowl to hold an ornate cluster stud, or situated closer to the perimeter where it can eventually support a large-diameter ring wrapping around the entire ear edge. Conch earring jewelry must be selected carefully; starting with a straight post is standard practice, while wide-diameter hoops should be postponed until the cartilage has fully stabilized.
Positioned on the innermost cartilage ridge directly above the ear canal opening, the daith is unique because it is one of the few cartilage placements pierced initially with a ring. Captive bead rings or ornate clickers sit flat against the bowl of the ear, protected somewhat from outside bumps by the surrounding anatomy. While internet lore frequently links daith piercings to migraine relief through vague vagus nerve stimulation, credible piercers treat this strictly as an aesthetic procedure with no guaranteed clinical benefits.
The snug piercing passes horizontally through the anti-helix ridge, penetrating two distinct layers of thick cartilage in a single pass. Due to the density of this ridge, snug piercings have a reputation for prolonged swelling, high sensitivity, and an extended recovery period that can stretch beyond a full year. Many piercers suggest a faux-snug alternative—combining an outer conch post with an adjacent lower helix stud—to achieve the same visual profile with a much lower rate of chronic irritation.
Design and Placement Considerations for Men
Interest in ear piercings for guys has expanded far beyond the single lower lobe stud of previous decades. Men are increasingly building curated ear sets that combine lower lobe placements with subtle industrial accents, understated conch studs, or low-profile tragus jewelry. The key to masculine ear styling often centers on proportion, metal finish, and choosing clean lines that complement facial hair and jawline structure.

For men seeking a minimal aesthetic, matte black or raw satin-finish titanium in 16-gauge or 14-gauge dimensions offers a solid, grounded appearance without excessive flash. A single lobe piercing placed slightly higher than traditional centered marks works well for holding thicker hoops or small plugs later on. When visiting walk-in tattoo shops that employ certified body piercers, guys can discuss placements that fit professional dress codes while leaving room for future expansion.
Sports, physical labor, and helmet wear are important practical concerns for men planning their first cartilage projects. Motorcycle helmets, football gear, and heavy construction hard hats press directly against the ears, creating friction that can disrupt a fresh wound. If your daily life involves snug protective headgear, schedule your appointments during off-seasons or choose low-profile inner ear locations like the conch or daith, which remain somewhat shielded inside the ear bowl.
Initial Jewelry Selection and Material Standards
What you put into a fresh piercing matters just as much as the skill of the hands holding the needle. Fresh wounds require bio-compatible materials that do not leach nickel, copper, or toxic alloys into the bloodstream. Implant-grade titanium (ASTM F-136) is the gold standard across the body modification industry because it is lightweight, highly resistant to corrosion, and completely nickel-free. Solid 14-karat or 18-karat nickel-free gold is also an excellent option for clients who prefer warm metal tones.
Avoid cheap mystery metals, sterling silver, and plated costume jewelry at all costs during the healing period. Silver oxidizes rapidly when exposed to bodily fluids and air, which can permanently stain your skin tissue with dark grey or black deposits—a condition known as argyria. Plated metals can chip, flake, and expose irritating base metals underneath, quickly triggering allergic contact dermatitis that masquerades as an infection.
Jewelry construction is another critical variable. Internally threaded or threadless (press-fit) posts ensure that smooth metal passes through the puncture channel during insertion and removal. Externally threaded jewelry, commonly found in low-end retail kiosks, features exposed screw ridges on the outside of the bar that shred delicate healing tissue every time the jewelry slides through the ear. Always confirm that your studio uses internally threaded or threadless components.
Pain Profiles Across Different Zones of the Ear
Pain tolerance is intensely subjective, but physical sensations vary reliably depending on the thickness and nerve density of the target tissue. Soft lower lobes generate only a quick, sharp pinch lasting less than a second, followed by a warm throbbing sensation that fades within twenty minutes. Most people rate lobe discomfort at the very bottom of the sensory scale, making it an easy introduction for newcomers.
Cartilage punctures feel distinctly different from soft tissue work. The needle must pass through tough, structural connective tissue, resulting in a sensation of deep pressure rather than a surface sting. You may hear an audible pop or crunch as the needle clears the cartilage plate, which is completely normal and harmless. Forward helix and tragus punctures tend to produce moderate pressure, whereas the dense tissue of an anti-tragus or snug registers higher on the discomfort scale.
The piercer's technique plays a major role in how manageable the experience feels. Professional piercers use razor-sharp, single-use hollow medical needles designed to cleanly displace a microscopic core of tissue rather than blunt piercing guns that crush cartilage through sheer mechanical force. Controlled breathing exercises during the puncture cycle keep your muscles relaxed and dramatically reduce your body's instinctive stress response.
Realistic Healing Timelines and the Downsizing Milestone
Patience is the foundation of successful ear curation. While a standard lobe puncture may feel completely normal after six to eight weeks, internal cellular maturation typically requires three to four months. Cartilage recovery is a much longer commitment. The majority of helix, tragus, conch, and daith placements take anywhere from six to twelve months to develop a resilient, fully epithelialized fistula that can handle jewelry swaps without distress.
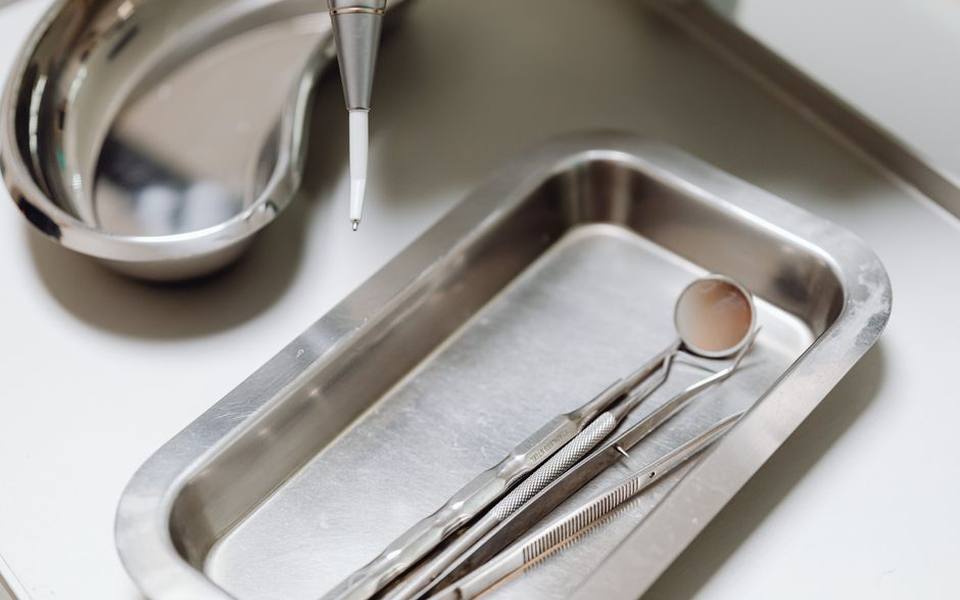
One of the most overlooked steps in the healing lifecycle is the mandatory downsizing appointment. Initial jewelry must feature an elongated post to allow room for inevitable swelling during the first two to three weeks. However, leaving that extended post in place after swelling subsides is dangerous. Long posts snag on towels, lean sideways when you sleep, and encourage permanent crooked angles. Most studios advise returning around four to eight weeks post-piercing to have a piercer insert a shorter, snugger post.
Resist the urge to swap your own jewelry simply because the puncture no longer aches or secretes lymph fluid. The outer edges of a wound channel close first, while the delicate internal tissue remains raw and fragile for months. Removing jewelry prematurely can cause the channel to collapse or tear, forcing you to restart the healing clock from day one.
Daily Cleaning Regimens and Preventing Complications
Proper aftercare relies on gentle consistency rather than aggressive chemical treatment. The only solution you should apply to a healing ear piercing is sterile 0.9% saline spray without additives or preservatives. Spray the front and back of the placement twice daily, let it sit for two minutes to soften any crusty secretions, and gently pat the area dry using disposable paper towels or non-woven gauze. Standard cotton swabs should be used with extreme caution, as loose fibers easily wrap around the post.
Keep harsh household remedies far away from your ears. Rubbing alcohol, hydrogen peroxide, tea tree oil, and antibacterial ointments destroy healthy new skin cells, dry out the surrounding tissue, and prolong the inflammatory phase. Similarly, avoid twisting or rotating your jewelry. The persistent myth that jewelry will fuse to the skin if not turned is false; twisting simply rips open newly forming tissue and introduces bacteria from your fingers.
If you notice a small bump forming near the entry hole, do not panic or squeeze it. Most piercing bumps are localized irritation responses caused by pressure, moisture retention, or snagging rather than genuine keloids or infections. Visiting reputable piercing shops allows a trained professional to evaluate the cause, adjust your post length, and help you get healing back on track. For residents researching local options, our verified directory across all states catalogs thousands of clean, state-licensed facilities.
Published 2026-09-22 · reviewed with each rebuild, last September 2026.
Find tattoo shops near you
The directory lists 32,768 tattoo shops by state and city — pick your state or use the “Near me” button in the header.
More guides
-
 Money
MoneyBody Piercing Costs Guide: From Ears to Dermals
-
 Service
Tattoo Removal Cost and Safety: What to Expect
-
 Money
MoneyTattoo Pricing Guide: How Much Do Tattoos Really Cost?
-
 Service
Best Friend Tattoos: Meaningful Ideas and Placement Guide
-
 Service
Body Piercing Types, Pain Levels, and Healing Times Explained
-
 Service
Specialty Tattoos: Exploring Cosmetic, Camouflage, and Non-Traditional Ink
-
 Service
Understanding Tattoo Styles and Design Meanings
-
 Buying
Tattoo Equipment Essentials: Understanding Machine Types and Starter Gear
-
 Service
Facial and Oral Piercings: Styles, Pain Scale, Healing, and Jewelry Options
-
 Service
Matching Tattoos for Couples, Friends, and Family: Design Ideas and Meanings
-
 Owning
Tattoo Placement Guide: Pain Levels, Aging, and Best Body Locations